Restoring outdoor wall lighting is an often-overlooked skill that can save you some serious money. Do you have lights you like that are showing their age? No need to buy new ones and replace them. You can instead refinish them in an hour or two with about $5-10 in supplies.
In this article and included video, we will discuss the steps, tips, and tricks to get this job done, helping you to save money and restore pride in your home’s curb appeal.
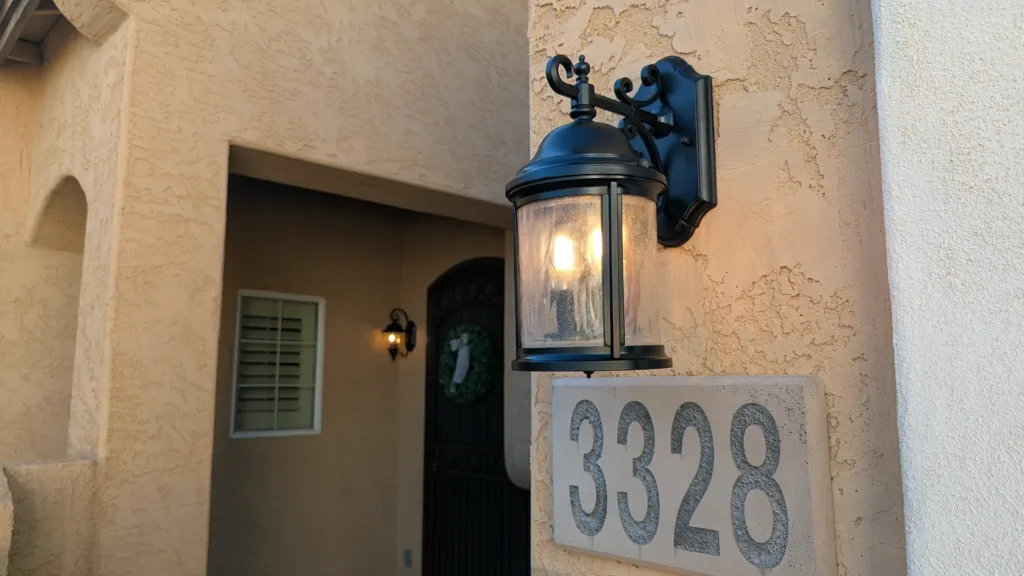
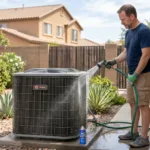
There are rarely times when you can save money and help the environment at the same time, but in the video below, you will see how we saved 4 outdoor sconces from the landfill by simply removing them from the wall, cleaning them, spraying them with paint, and then reinstalling them back on the home
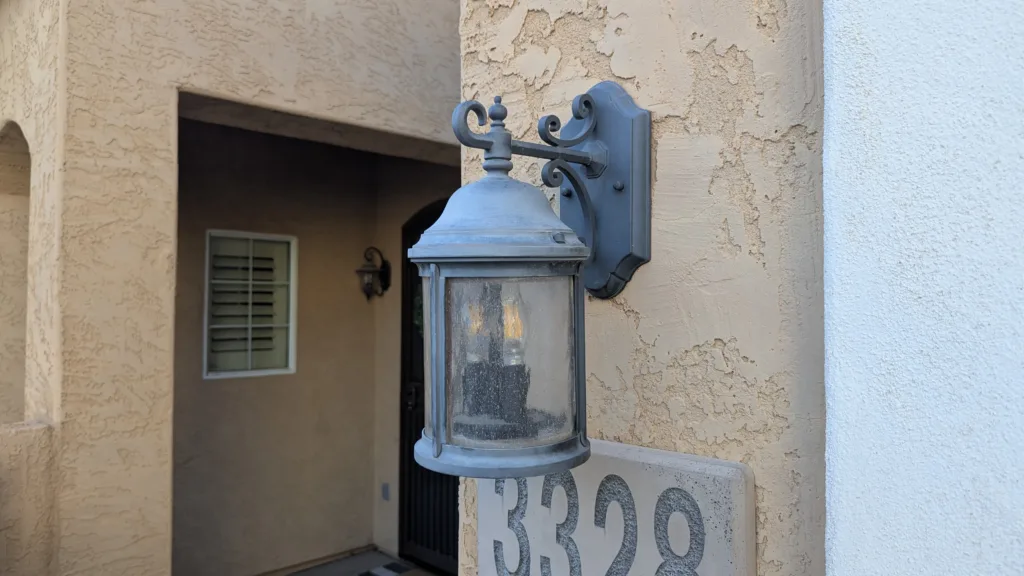
The lights we have in our home are a style that works with the design of our home. We also have noticed that wall lights can come in a variety of sizes – some lights are huge, and some are tiny… but we happen to be very happy with our current lights in how they work and look. We are just not happy with how they have aged. They are now grey as the original paint has faded in the hot Arizona sun. Below we will detail the steps to restore lights like ours so you can save money and keep more garbage from joining the landfills.
STEP ONE – Turn off the power
Cut power to the circuit where your lights are powered. No need to get electrocuted on the project,
STEP TWO – Take Light Apart
Remove the screws and knobs that hold the sconces to the wall of your home. This might require certain parts to be disassembled before taking the lights off the walls.
STEP THREE – Take Lights Off Wall
Next, find the wires that are connecting the lights to the home’s electrical system. There should be a wingnut or some other type of wire connector that you can loosen or remove to get the wires separated. You might benefit by taking some tape and a sharpie marker and labeling the colors of the wires before disconnecting, to ensure that when you put the lights back on the house, they are wired correctly.
STEP FOUR – Labeling Components
If you are like me, you have been burned when you took something apart and started to reassemble it – especially if you have lots of pieces. In this case, I took painters’ tape and a marker and made note of which glass light housing was installed where. As noticed earlier, I also made labels for the different wires as well.
STEP FIVE – Prep the Lights
With 3 of my lights, they had glass parts that were not easy to isolate, so it made sense to tape over them with painters’ tape so overspray didn’t get on them and mess things up. Take the tape and go around the edges, making sure the tape slides under the lip so you get good coverage. Do this until all of the glass is covered on the outside.
One of my lights had glass that could be removed easily, so it was set aside, and I didn’t have to worry about taping that one.
STEP SIX – Clean Housing
Next, clean the housings of the lights before painting. We took a microfiber towel and got it wet then proceeded to wipe down the outside of the lights to ensure the grime and dirt was removed. This is needed so the paint adheres to the metal lights well.
STEP SEVEN – Create and Place in “Paint Booth”
Next, take the various components and place them on a drop cloth you don’t mind getting spray paint on. We used a leftover piece of particle board, but it can be any number of surfaces. Place the lights on the cover and take any last-second precautions so paint doesn’t get somewhere you don’t want. In our case, since 3 of our lights were cylindrical, we added towels to the inside and a sacrificial towel at the top that we didn’t mind if it got paint on it. This kept paint from getting on the inside of the glass (we didn’t tape the inside).
STEP EIGHT – Spray the Lights
Next, we shook the spray paint can and made light passes from different angles to help get a nice, thin coat of paint on the metal light fixtures. After a minute or two (whatever the labels direct), we proceeded to spray a second coat again, trying not to lay it on too thick and cause runs.
STEP NINE – Reassemble lights and power on
Next, let the paint dry as directed. You can now reasssemble the lights and perform the steps above in reverse order (steps 1-3).